Budgeting App
Project Overview
I am currently in the process of purchasing a house. Because it is far from move-in ready, I wanted to ensure that I tracked my expenses as thoroughly as possible. I created this simple app in under 5 hours. It is not meant to be a full-fledged budgeting app, but to capture the minimum-viable functionality that I required. Those functions were:
- Add new items to the budget
- Categorize expenses by stage, room, and type
- Mark items as purchased
- Upload and view receipts.
- Track important dates and phases of the process
The app was developed in R using Shiny, is deployed to AWS EC2, and has a connection to a SQL database on RDS. Dynamic DNS allows it to be accessed from any internet connection.
Dashboard
Overview
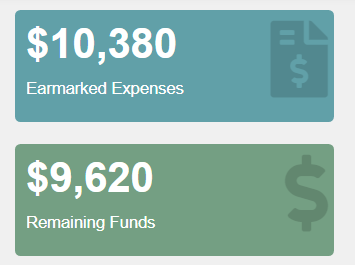
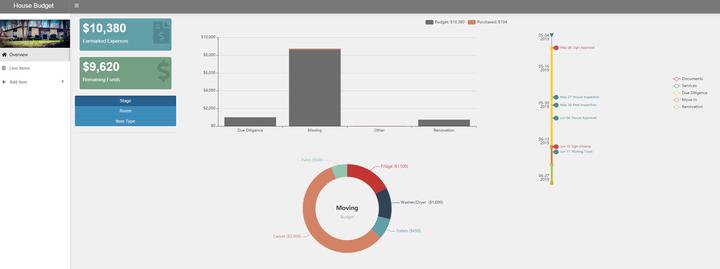
The overview tab shows the current budget as well as the remaining funds in order to quickly asses the current state of the budget.
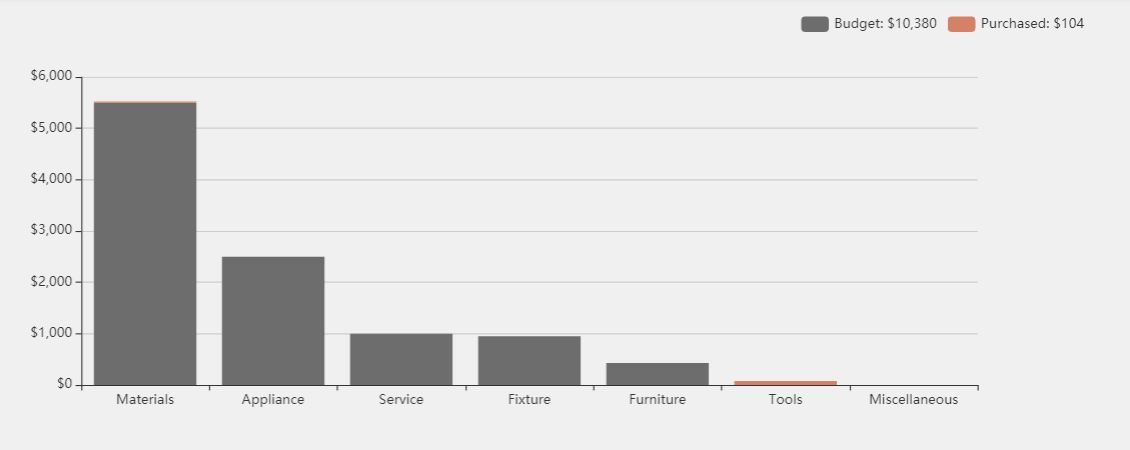
A graph breaks down each budget item based on whether or not it is purchased and by the selected category
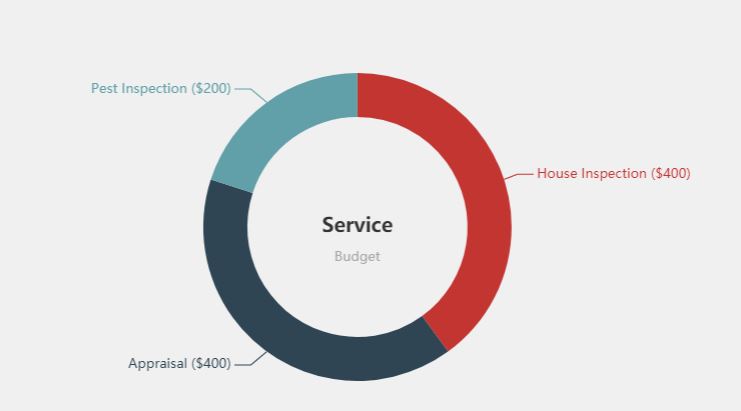
A detailed view is shown for the hovered section
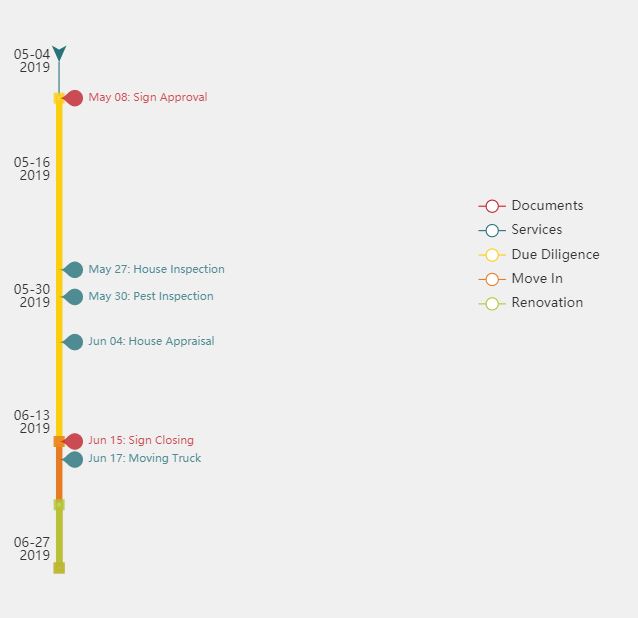
The timeline shows upcoming important events as well as each stage of the process
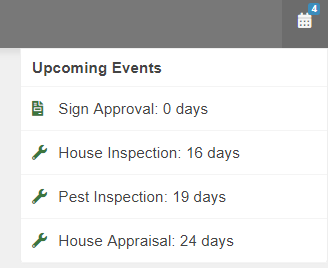
Notifications alert the user to upcoming events
Line Items
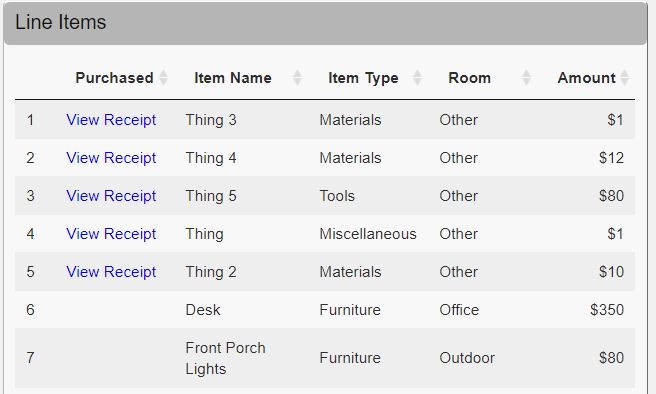
The line items tab lists each of the budgeted items.
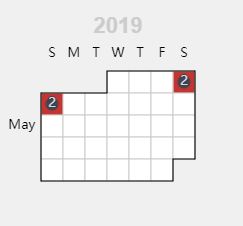
A calendar shows how many purchases were made each day. Hovering over each day will highlight the items that were purchased that day.
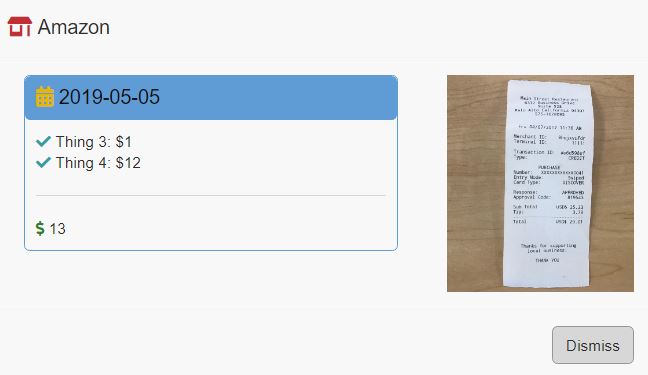
The user can click on items that have already been purchased and view the purchase info and receipt.
Add
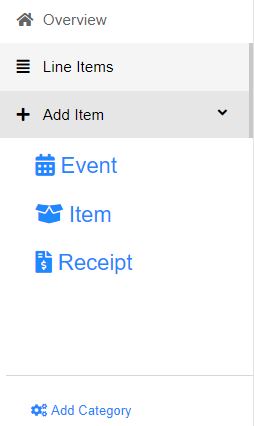
Items are added on the sidebar.
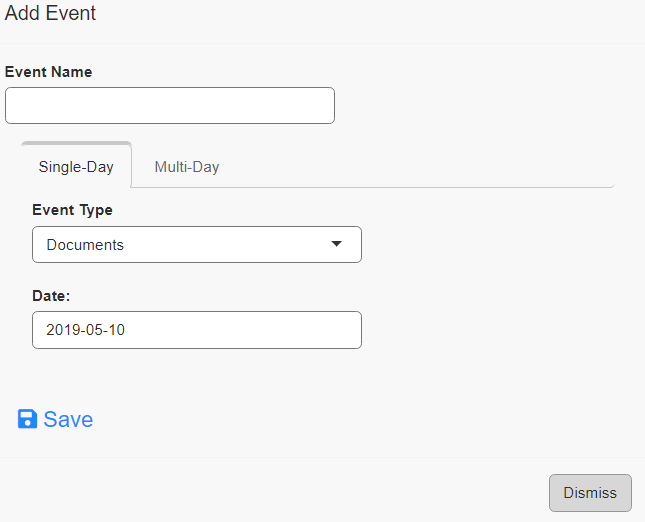
Add Event
There are two kinds of events in the app: single-day and multi-day. Single-day events are categorized as Services or Documents and show up as pins on the timeline. Multi-day events are named individually and are shown as line segments.
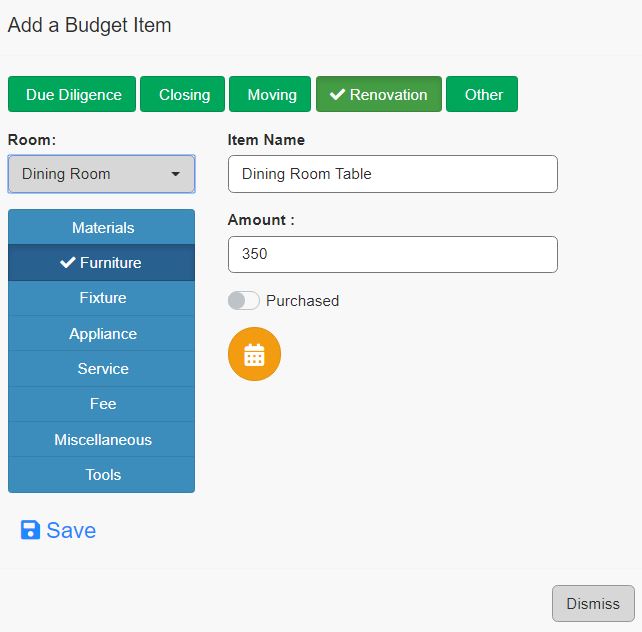
Add Item
Each budget item has the following attributes:
- Stage: stage of the processes where incurred
- Room: which room the item is for (where applicable)
- Type: what type of expense it is (e.g. furniture, material, service, etc.)
- Amount: amount of the item
- Recurring: for tracking ongoing expenses
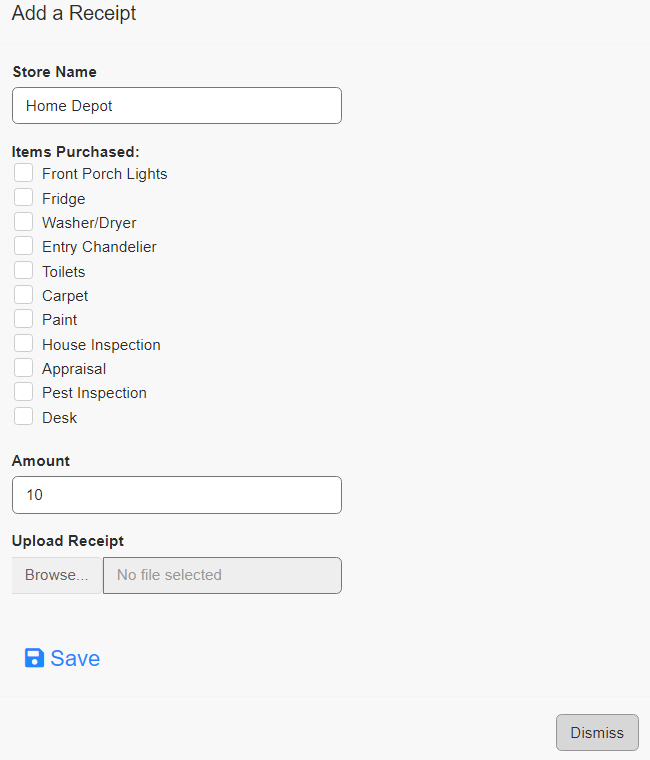
Add Receipt
Receipts can be uploaded for tracking and tax purposes. The name of the store is selected as well as each of the budget items purchased and the total amount. The receipt can be uploaded from mobile or desktop. Once the save button is clicked, all of the items that were selected will bet marked as purchased and the receipt will be available to view.
Add Category
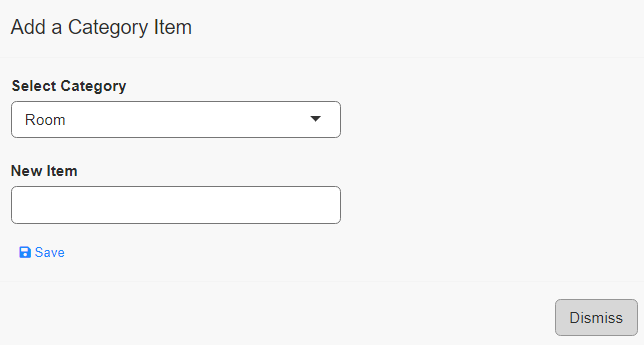
In case a category wasn’t added previously, it can be done on the fly.
Conclusion
While it might not be perfectly seamless from a UI perspective, the functionality completes the need and will be much easier than trying to track in an application like Excel since it can be done from mobile devices. Interactivity is not necessary, but the development time is so minimal that it is worth the time.
